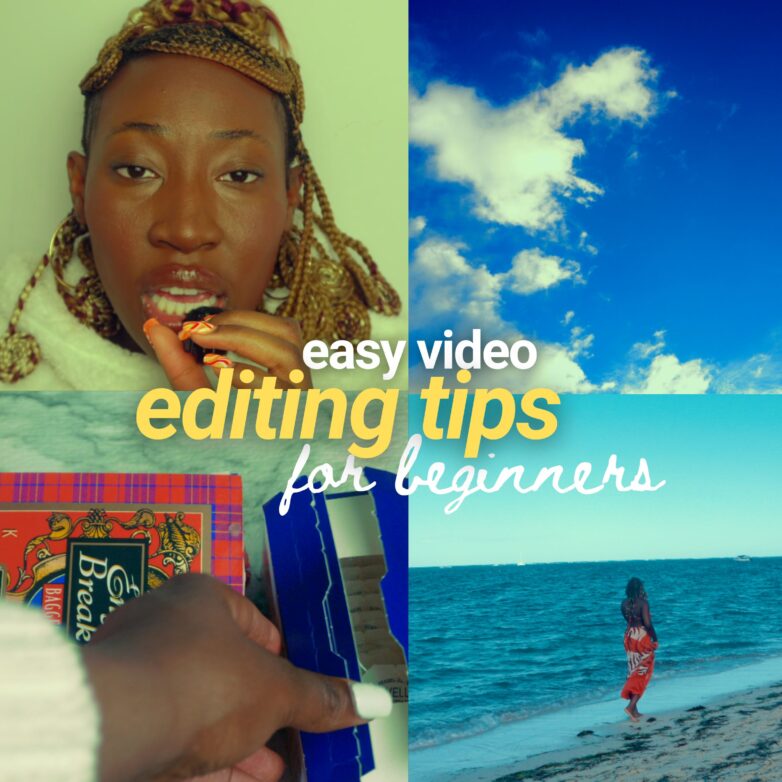
So I heard that you want to make better videos but don’t know where to start? Disclaimer: I am no expert. I am just a girl who came out of my mama’s womb last night but this is the beginner’s guide that I wish I had. My youtube video below gives a glimpse of what is explained in this blog.
Youtube Tutorial | How To Make Better Videos
First of all, I like to think about my video editing process into 3 parts: pre-production, production and production
Pre-Production
This is the preparation period. It can be tempting to skip this section but don’t. Trust me – it is the most important part. If you want to know how to make better videos, I recommned spending a lot of time here. Warning – it’s the hardest part in my opinion.
Step 1: Chose Music
I feel like I yell about this sooo much in my videos. But for real, music sets the stage. I get music from epidemic sound. You can use my referral link here. When I think about what I want to focus on, I think about the mood I am going for. Because of how epidemic sound is set up, you can choose music based on mood and vibe. I actually like to choose this first but also allow myself flexible to change my mind afterwards.
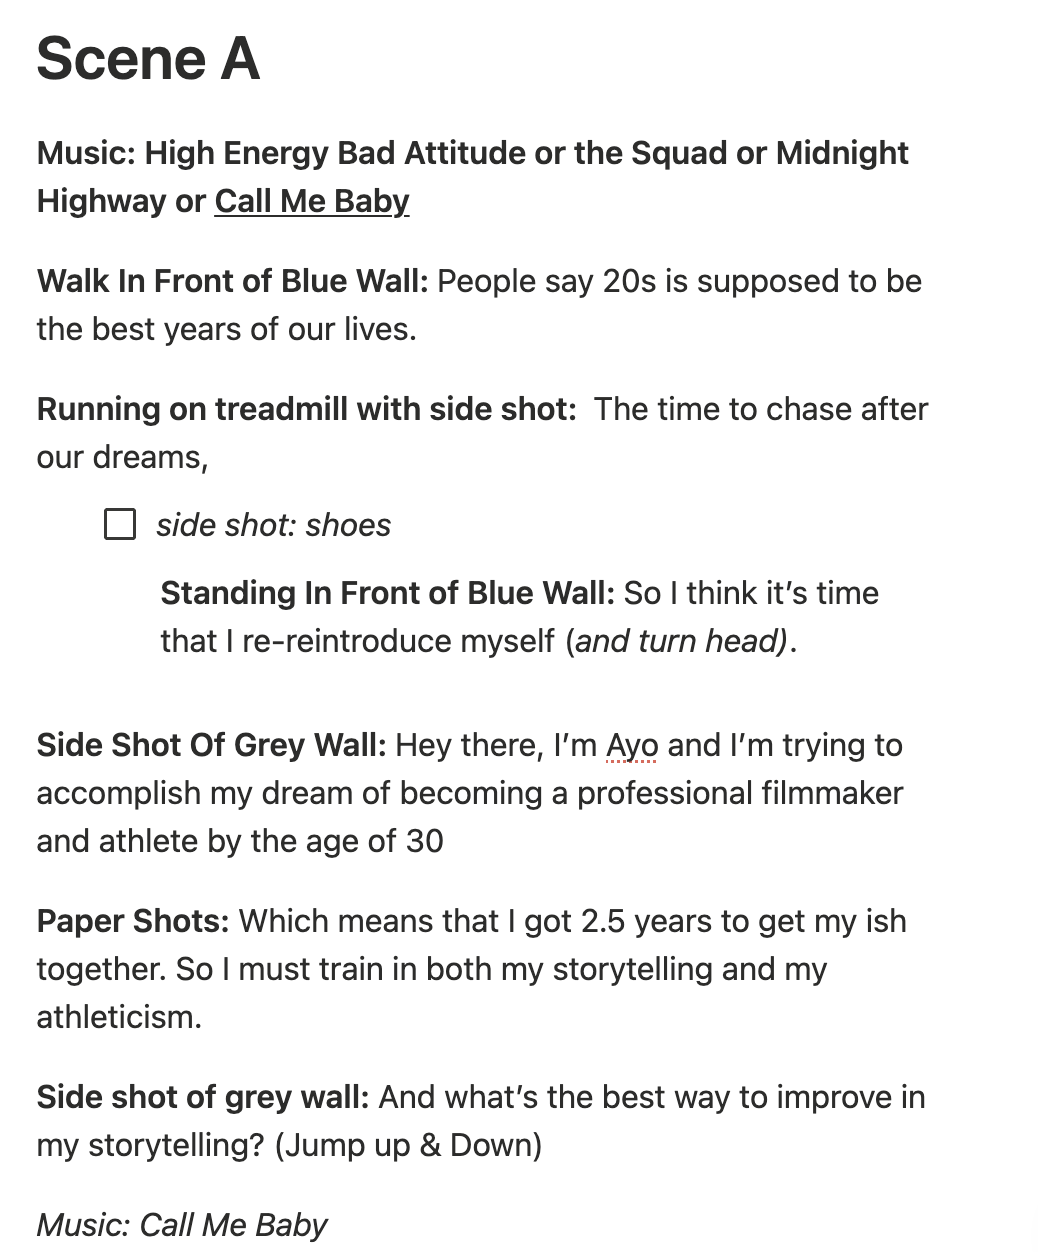
Step 2: Write Script & Shots With Music
Once you choose the music, I actually recommend that you play the music in the background as you write because when you are feeling the music, inspiration can flow. You begin to write a script in rhythm of the music so when you edit, your voice and cadence is more aligned with the music.
My recommendation is to write as if you are chatting with a friend or a younger version of you. Don’t overcomplicate it. If I plan on vlogging, I still like having a script or at least a bullet point of ideas. I like letting things flow for a vlog but also like having a general idea of where I am going to be and shots I wanna take.
Step 3: Get Multiple Angles & Shots For Same Scene
I like to categorize shots into 3 categories:
1. B-roll: videos that play over any footage where I am just plainly talking. Think about it — when you are watching a video, you usually hear someone chatting but see other things on the screen. That my friend is what filmmakers call b-roll.
2. Angles: I like to think about shooting the same scene but in different ways. For example, maybe I want to show myself picking up my phone off the table. In order to show this in a way that makes it SEEM like I have multiple cameras in the room is to shoot different angles like a front shot, side shot and back shot. It is definitely more tedious BUT it helps you make videos that look like you have a whole production team although it’s just you.
3.Types: Lastly, you can think about getting different shot types like full body, half body or close up. I give more examples of this in storytelling editing tip #2 here. I recommend adding these types of shots in your script and switching it up so you don’t just have close ups or vice versa.
Step 4: Switch Up Locations
I love switching up locations. I find that saying certain parts of the script at different locations makes it more engaging. As you write your script/shots add in the different locations you plan on using.
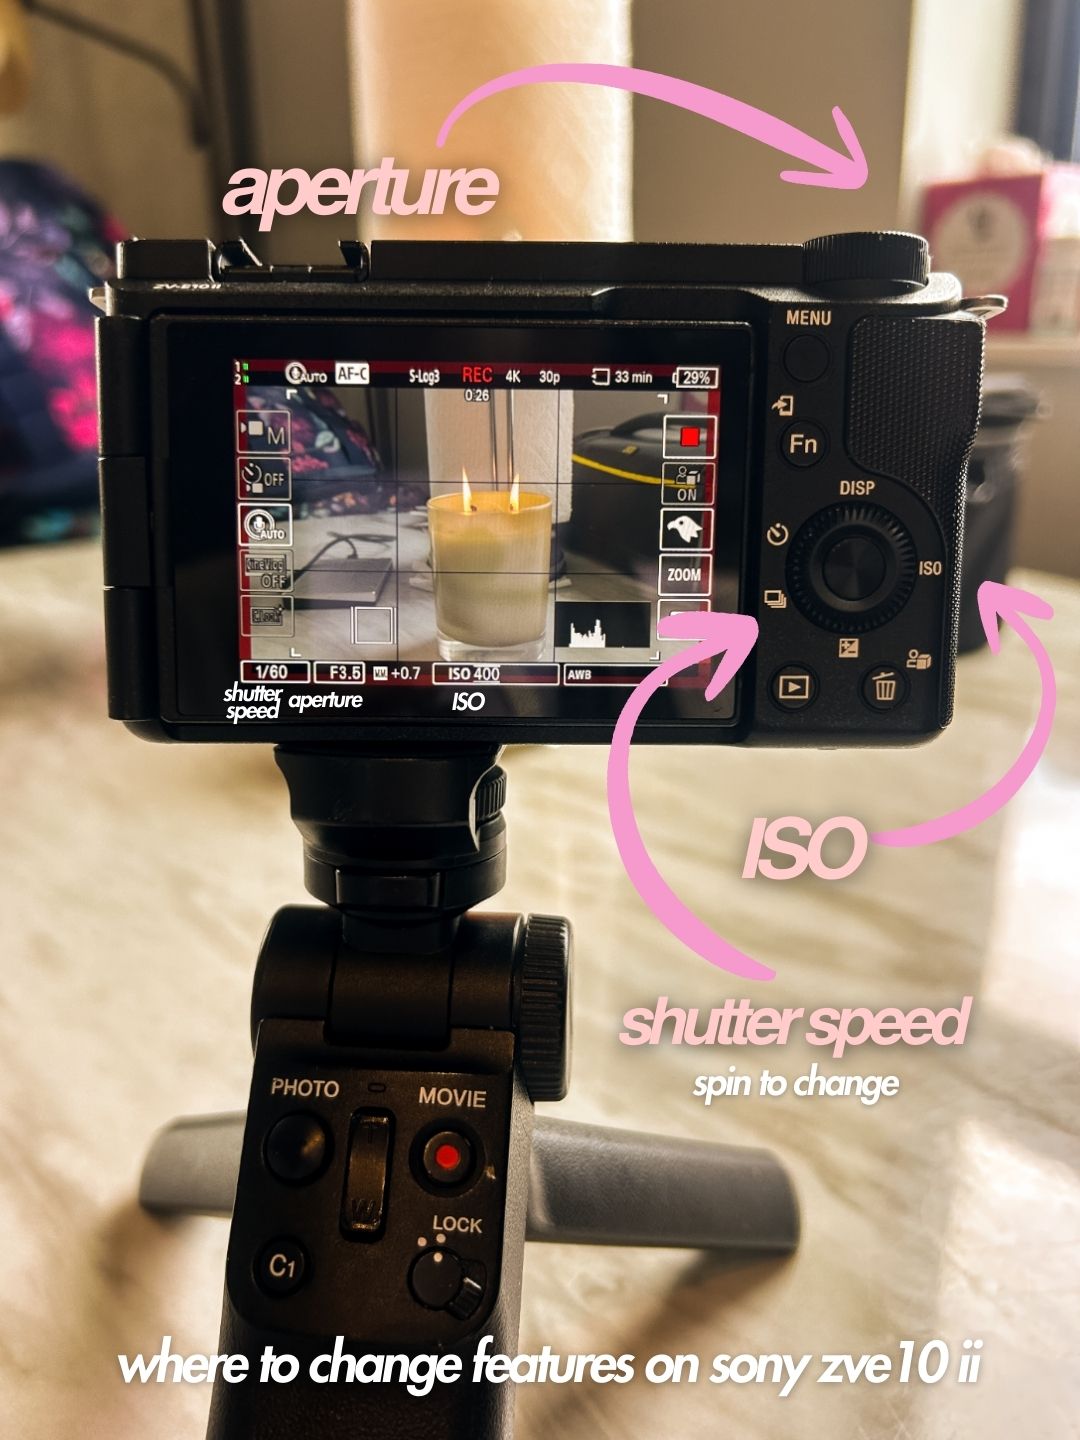
Step 5: Understand Your Camera Settings
I have talked about this in more depth but know about these 3 settings in your camera – shutter speed, ISO and aperture in a blog post here and in my youtube color grading video here. I like keeping things simple and easy so here is my tldr version of that blog:
- Shutter speed: keep at 1/48 or 1/50
- ISO: keep it low for outside settings (~ 200) and a little higher when indoors (~640/800)
- Aperture: represented as F#. Lower the number for indoor settings and increase the number for outdoor settings.
Production
Time to shoot the footage! Whether or not this goes smooth depends on your pre-production phase.
Step 6: Play Music Right Before Recording
One thing that has helped me immensely has been playing the music I plan on using for particular scenes in the background. As I am preparing for the scene, I play the music in the background so I can feel the mood. When I record, I turn off the music but simply listening before officially recording. helps me speak in a way that matches the musicI also do this for my voice overs. Sometimes, while recording a voice memo, I plug in my headphones to the listen to the music. By doing this I am speaking in the proper tone. For example, if the music is sad, I don’t want my voice memo to accidentally sound too happy and excited.
Step 7: Be Flexibe
Assume that something won’t go as planned. I am not asking you to be emo. But if things go left, you won’t be so overwhelmed and give up if you are aware that something might not work out. It’s so normal for things not to go perfectly. In fact oftentimes when it doesn’t go as planned something better can happen.
So, yes come with your script and shot list with checkboxes but prepared to and be okay with pivoting.
Post-Production
This is the fun part – the video editing. Finally you can see your video vision come to life!
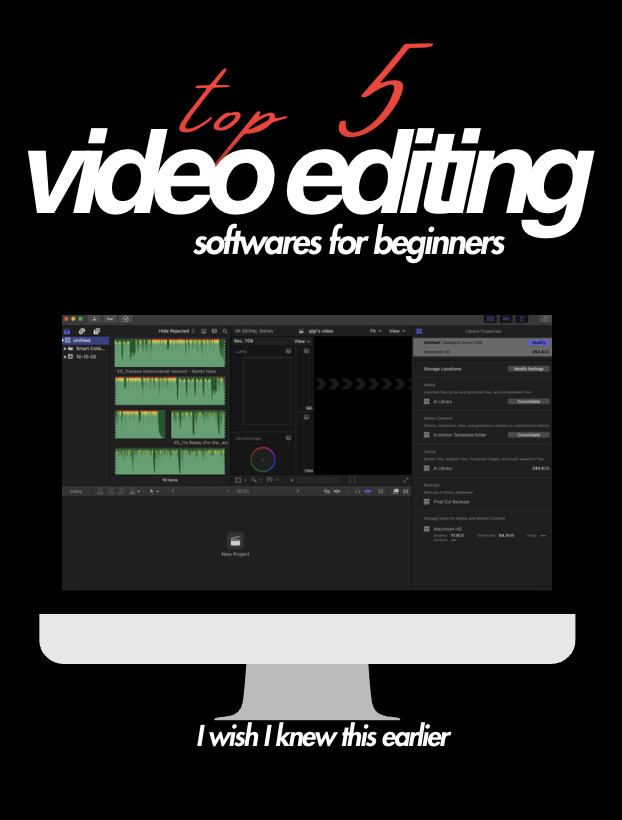
Step 8: Chose Video Editing Software
My advice is to choose a video editing software and master it as much as possible before going to a different one. In a previous blog, I share pros & cons of different video editing softwares.
I use final cut pro because I was able to get a student discount years ago. I LOVE final cut pro but if I were to go back, I would have mastered DaVinci. Do what’s best for you!
Step 9: Buy 2 External Hardrives
Please do not make my same mistakes! Buy an external hardrive to edit your videos AND have a backup external hardrive. You do not want to be like me and lose all your footage. In the past, I have used lacie and WD external hardrives. I have broken/damaged both so I can’t necessarily say one is better than the other.
Step 10: Download Fonts 10
I get most of my fonts from dafont.com. There are many tutorials online that explain how to download them depending on your computer model. Fonts can make or break a video hence why I am always playing around with them to see what works for me. My favorites are below:
- editor’s note
- editor’s note itlacized
- futura
- helvetica
- mamboe
- palmore
- bebas
- new romantics
- nimbus
- perandory
- sauber script
Step 11: Font & Text Colors
If you want to change your font to a specific color, go on google and type”[insert color] color code”. For example, you can type in “yellow color code” and you will get different color codes that you can use for your videos. I love: #ffdc00 or #ffde59 for cinematic yellow font.
Step 12: Color Grading
Lastly color grading can make your video go from boring to great. There is no correct color grading but I go over the process of color grading in more depth here. I know you’re probably annoyed like “girl – why don’t you just explain color grading right now?” Unfortunately, there is too much to say about color grading to fit in this blog post. But my color grading tutorial video spills all the tea.
Well – that’s it y’all! These are my 12 video editing tips for beginners. I hope this makes the video editing process easier for you. If you have any questions, feel free to message me on insta @theauthenticayo or email me at ayomideo@theauthenticayo.com. Have fun video editing friends!